

The closing costs cleared, the boxes are unpacked, and the budget feels stretched to its limit. It’s exactly the wrong moment to discover that a house full of builder-grade hardware and decade-old systems needs real safety investment before it feels genuinely secure. Most new homeowners plan for furniture and paint. Very few plan for the quiet, unglamorous upgrades that protect the people living inside — and the financial hit, when it arrives unbudgeted, stings hard.
The Electrical and Carbon Monoxide Blind Spots
Home inspections flag obvious hazards, but they rarely tell you what’s quietly outdated. Electrical panels from the 1990s and early 2000s — particularly those with known recalls, like certain Federal Pacific or Zinsco brands — can pass a basic inspection while still carrying elevated fire risk. A licensed electrician can assess whether the panel is a genuine liability, with replacement typically running between $1,500 and $3,000 depending on amperage and local labor rates.
Carbon monoxide detectors are where the gap between what buyers expect and what they actually receive is widest. Sellers routinely leave behind smoke detectors — sometimes fresh-batteried for show — while CO detectors are absent entirely. CO poisoning sends tens of thousands of people to emergency rooms annually in the United States, and combination smoke/CO detectors cost as little as $30 to $50 each. Budget for at least one per floor, including the basement if any gas appliances or an attached garage is present.
The smarter comparison here isn’t brand vs. brand — it’s hardwired versus battery-only. Battery units are easier to install but require consistent maintenance. Hardwired detectors with battery backup cost more upfront ($60–$120 per unit with installation) but eliminate the single biggest reason detectors fail: a dead battery no one noticed. For most homes with existing wiring infrastructure, hardwired is worth the difference.
- Install combination smoke and CO detectors within 10 feet of every sleeping area and on every floor of the home
- Have a licensed electrician inspect any panel older than 25 years before moving in, not after the first warning sign
- Replace battery-only detectors with hardwired units when repainting or renovating adjacent ceilings to avoid double labor costs
Door and Window Security Beyond the Deadbolt
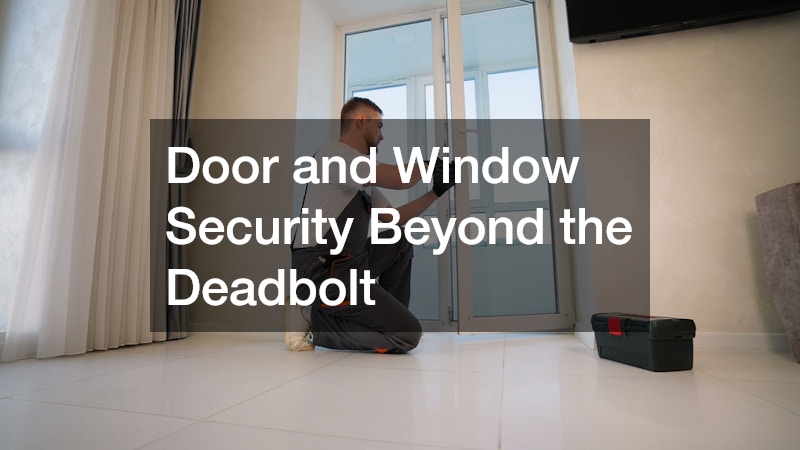
New homeowners tend to trust a deadbolt and move on. The actual vulnerability is usually the door frame, not the lock itself. Standard residential door frames use short screws — often only 3/4 inch — that anchor into soft wood trim rather than the structural stud behind it. A solid kick can defeat a quality deadbolt in seconds when the frame gives way first. Replacing strike plate screws with 3-inch steel screws that reach the stud costs under $10 in materials and about 20 minutes of work. It’s one of the highest-value safety upgrades available.
Sliding glass doors present a different problem. Most come with latches — not locks — and the standard fix has existed for decades: a cut-down wooden dowel or a commercial-grade sliding door bar ($15–$30) placed in the lower track. What most homeowners miss is the lift-off risk: older sliding doors can often be lifted off their track from outside. Anti-lift pins, inserted into the top track, eliminate that vulnerability for about $8 a pair.
Window security sensors — the small magnetic contact sensors that trigger when a window opens — are frequently overlooked in favor of camera systems. Cameras document. Sensors interrupt. A modest investment in window and door sensors, around $15–$25 per entry point when purchased as part of a DIY system, adds a layer of deterrence that cameras alone cannot provide.
- Replace strike plate screws on all exterior doors with 3-inch screws driven into the structural stud, not just the trim
- Add anti-lift pins to all ground-floor sliding doors within the first 30 days of occupancy
- Audit every accessible ground-floor window for a working latch before relying on any alarm system
Firearm and Hazardous Material Storage
This section addresses two separate but related categories: firearms and household chemicals or medications. Both require secure storage, and both are consistently under-budgeted.
For households with firearms, the question isn’t whether to secure them but how. Quick-access pistol safes ($80–$200) offer biometric or keypad entry fast enough for emergency use while keeping the firearm inaccessible to children. Long gun storage requires a full-size unit — quality gun safes designed to meet California DOJ approval standards typically start around $300 and can anchor to studs for added security. The cost of proper storage looks different next to the liability and tragedy that follows unsecured access.
Household chemicals — cleaning agents, pesticides, pool supplies — are stored carelessly in most garages and utility rooms. Mixing certain common products, even accidentally, creates toxic gas. A simple lockable cabinet ($50–$100) and a rule about keeping incompatible chemicals in separate storage areas costs almost nothing relative to the risk. Medications deserve the same attention: a small lockbox secured to a cabinet interior keeps prescription drugs away from children and visitors without requiring major renovation.
DIY installation versus professional installation applies differently here. Firearm safes should be professionally anchored if they exceed 200 pounds or if the floor is finished hardwood — improper bolting can cause structural damage or fail under prying. Lighter lockboxes and medication safes are straightforward DIY projects.
- Select a firearm safe that meets your state’s safe storage law requirements, as specifications vary significantly by state
- Store pool chemicals and flammable liquids in a dedicated, ventilated cabinet at least 10 feet from any heat source
- Check all prescription medications monthly and move any controlled substances to a locked box rather than a standard medicine cabinet
Water Damage Prevention Nobody Prices In
Water damage is the claim type most likely to hit a new homeowner in the first five years of ownership, and most of the triggers are preventable with modest upfront investment. Washing machine supply hoses — the braided-steel kind — fail most often after seven to ten years. If the previous owner didn’t document replacement, assume they need it. Braided stainless replacements cost $15–$25 each and take under 30 minutes to swap.
Whole-house water shut-off valves are worth locating on day one, but automatic leak detection goes further. Smart water sensors placed near water heaters, dishwashers, and under sinks ($20–$50 per sensor) send a phone alert when moisture is detected. Whole-house automatic shutoff devices — which cut water supply when a leak is sensed — run $150–$500 depending on pipe diameter and brand, but can prevent tens of thousands in drywall and flooring damage.
Water heater age matters more than most buyers realize. A unit older than 10 years is statistically near end of life. Budgeting for replacement before failure — around $900–$1,500 installed for a standard 50-gallon gas unit — is far less disruptive than an emergency swap after a rupture floods the utility room.
The reactive approach costs more in every scenario. Emergency plumbing calls, insurance deductibles, and temporary housing during remediation make the math clear: a few hundred dollars in preventive hardware outperforms the alternative by a significant margin.
Build the Safety Budget Before You Sign
The upgrades covered here don’t require a contractor on retainer or a renovation timeline. Most can be completed within the first 60 to 90 days of ownership, spread across a realistic budget of $800 to $2,000 depending on home size and existing condition. The smarter approach is to treat safety hardware the way you treat moving costs — as a line item that exists before you buy the furniture. Walk every room before the boxes arrive, note the detectors, the strike plates, the hose connections, and the water heater label. That walk determines what comes first.